What Is a Cat Eye Lash Extension?
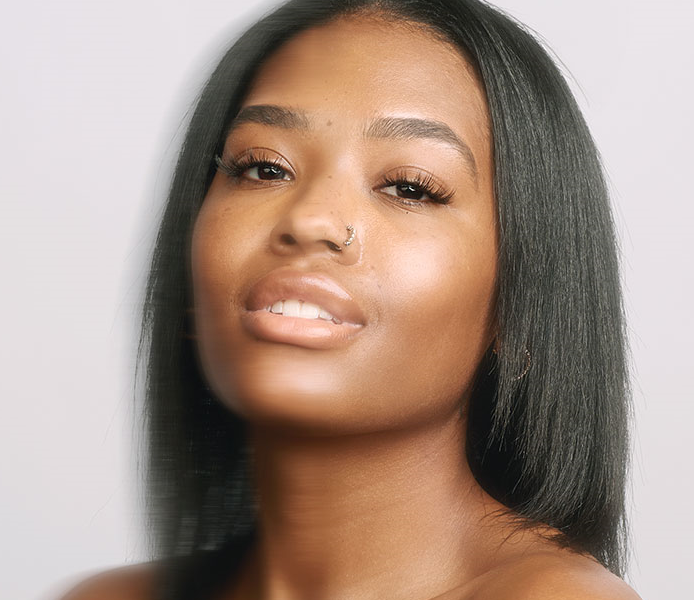
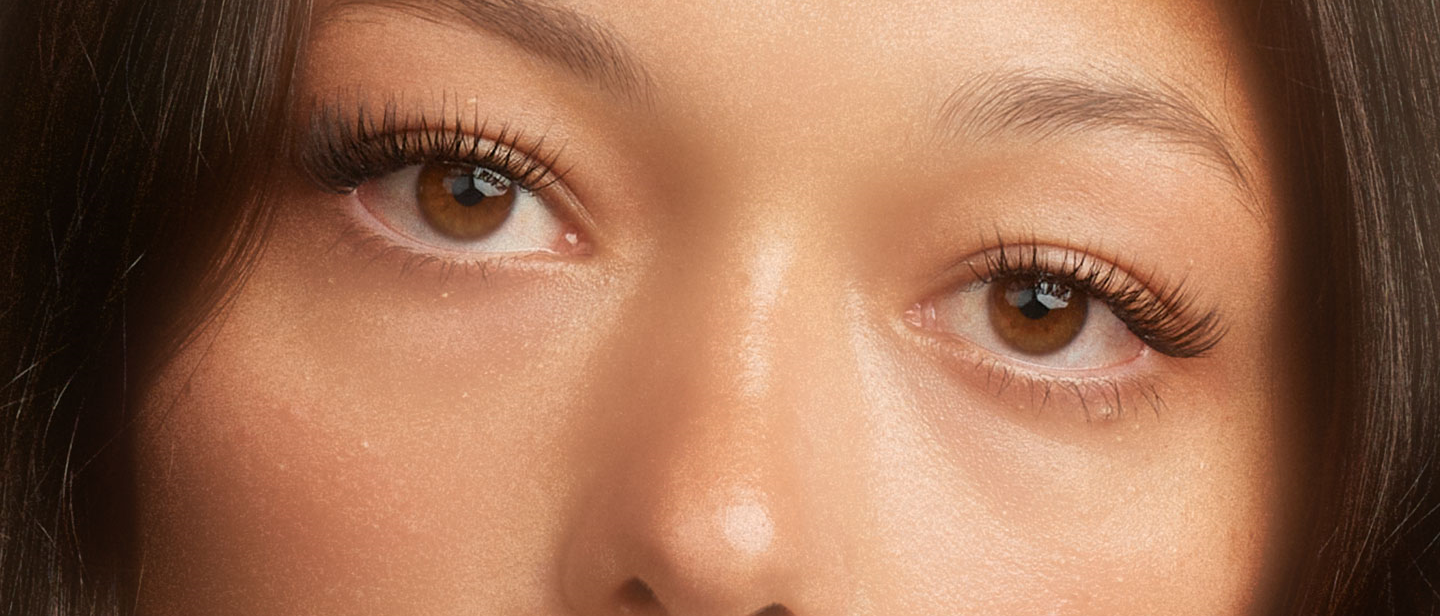
Cat eye lash extensions are a style with shorter lashes in the inner part of the lashline, which get progressively longer towards the outer corner. It’s one of the most popular lash extension styles because it elongates the eye and pulls it slightly upwards. When done well, it’s extremely flattering on many different eye shapes.
Types of Cat Eye Lash Extensions
Cat eye lash extensions can be created in a few different ways to achieve different effects - here are a few great options:
Classic
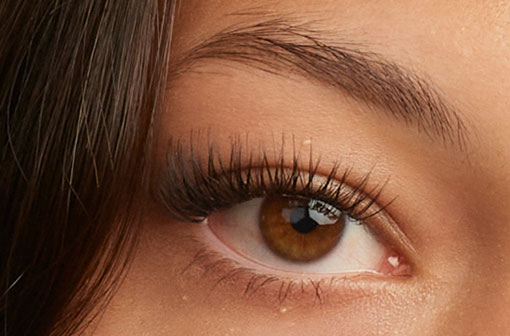
A classic cat eye is subtle, natural, and fairly simple, with single extensions attached to each lash. A great technician will also alternate the length of extensions a little to keep the look fluttery and dynamic.
Volume
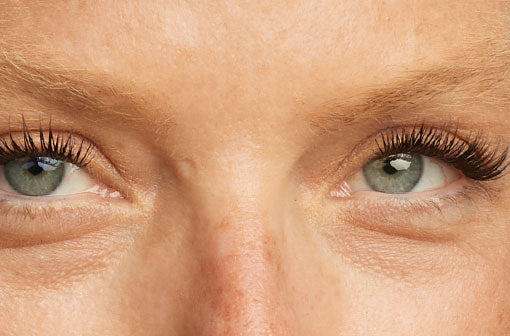
Volume cat eye extensions are created with clusters of extensions, leading to a fuller and slightly more dramatic look. The same principle applies, though, with shorter clusters near the inner corner of the eye and longer clusters in the outer corner.
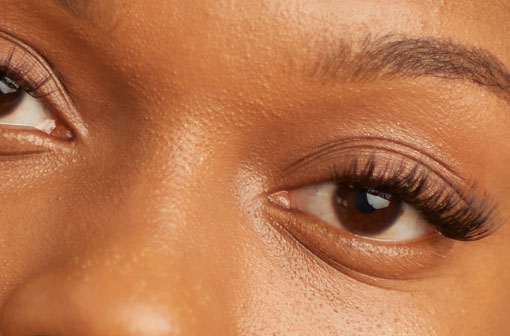
Hybrid
Hybrid is a combination of single, classic lashes and volume clusters. By combining both, the lash extensions look more textured and dynamic. It’s an interesting look that’s not as intense as volume lashes but is more dramatic than classics.
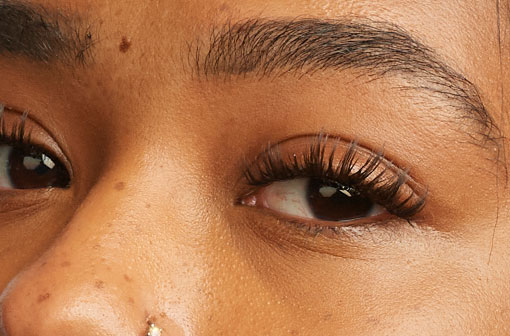
Spike/Anime
Spiky lashes are a style with extreme length variation between the extensions, leading to a spiky look. Sometimes, there can also be thickness variation. This style is best achieved with hybrid or volume lashes or with the Lilac DIY lashes inMet Gala. Spikes make the eyes look very big, so they’re sometimes referred to as anime lashes.
To combine this with cat eye extensions, you can still slightly increase the length towards the outer lash line while still keeping the same distance ratio between the longer and shorter lashes.
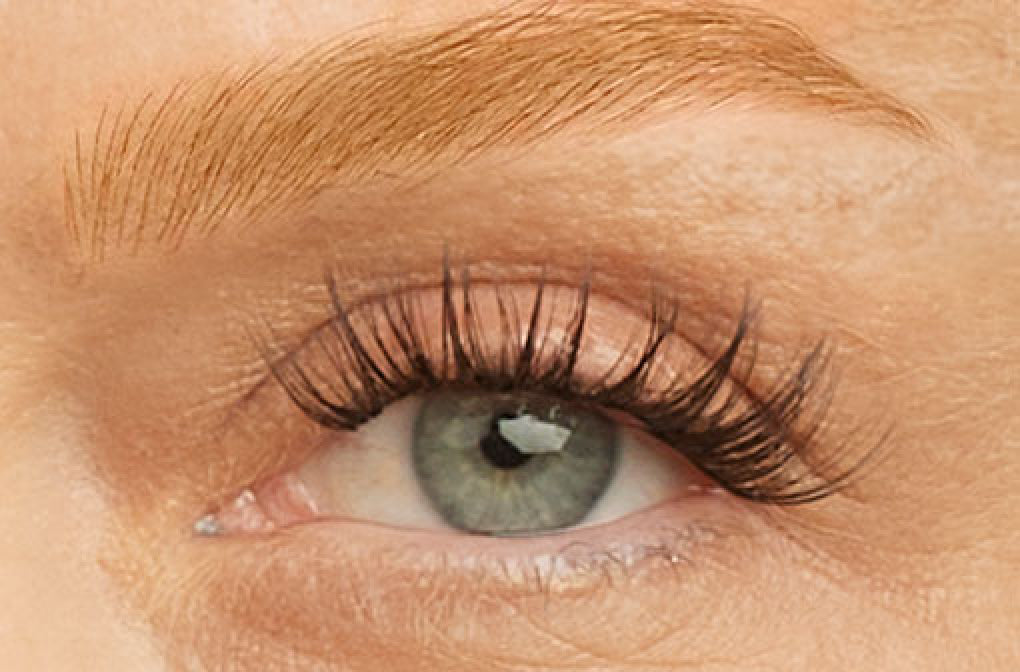
Squirrel
Squirrel lashes are technically different from cat eye, but they share similarities. With this lash style, there is still a gradient of shorter to longer lashes, but it ends just before the outer corner of the eye. Then, the last few lashes are shorter. This pulls the eye upwards before the outer corner, leading to an angular look that’s less elongating.
On very downturned eyes, the traditional cat eye can pull the eye down because of the way the longer lashes extend beyond the lash line, which is when the squirrel style is a better choice.
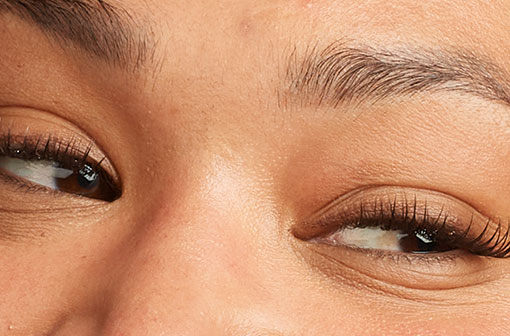
Fox/Eyeliner
Fox eyes are a newer style similar to cat eyes. Instead of using C- or D-curl lashes, this style is achieved with L-lashes, which go straight upwards with a sharp bend. When applied from short to long along the lash line, they create a dense, eyeliner-like look at the base of the lash line.
This style elongates the eye effectively while still having a very upturned look, and it works well with modern “siren eye” or “fox eye” makeup trends.
Why Choose Cat Eye Lash Extensions?
The cat eye is one of the most popular eyelash extension styles because it’s incredibly flattering to a lot of different eye shapes.
Having shorter lashes near the inner corner of the eye helps keep the eyes looking open and large. Then, the angle that the tips of the lashes create from short to long helps pull the eye upwards in a flattering, glamorous, and sultry look.
Remember that sometimes, those curvy lashes at the outer corner can bend down along with the eye, which can be an issue for those with downturned eyes.
Eye Shapes for Cat Eye Lash Extensions
Cat eye lash extensions can truly flatter everyone. Here are the ways they can impact the main eye shapes:
- Almond: cat eye extensions will emphasize and enhance your eye shape.
- Round: This extension style will help elongate your eyes, making them seem slightly sultrier and less round.
- Upturned: cat eye extensions will give you a feline look by emphasizing your eyes.
- Downturned: As long as they’re done correctly, cat eye extensions will help pull your eyes upwards, which is very flattering. Make sure that the lashes don’t extend downwards past your outer corner, and consider having slightly shorter extensions at the very end.
- Monolids/Hooded: The shorter lashes in the inner corner are comfortable and flattering on hooded eyes.
How to Create Cat Eye Lash Extensions With Lilac St.
You don’t have to go to a professional to achieve flawless cat eye lash extensions!
Lilac St. extensions let you be your own lash stylist with DIY lashes that you can apply by yourself at home. They’re designed for multiple days of wear. they’re totally waterproof and a fraction of the cost of professional extensions.
Here’s how you can use them to achieve the cat eye look:
What You’ll Need
You’ll need a few sets of Lilac St. lashes in different lengths, such as 10, 12, 14, and 16 mm. Our Intro Starter Set makes getting all the sizes you need at once easy. If you’d like to choose your own lashes, you can pick up our Travel Kit instead.
Map Your Cat Eye
Start by creating your lash map. Using a lash pad makes this super easy, but you can also use the container your lashes came in or any other clean surface.
Pick up the lash extension clusters one by one and place them down in the order you intend to apply them. Remember, the lashes closed to your lash line need to be shorter, while the lashes on the outer corner need to be longer.
Feel free to mix and match different styles of lashes, such as the more natural Originals in the inner corner and the more dense Volume lashes in the outer corner.
As long as the length goes from shorter to shorter, you can really play around with length differences and distribution. Here are some lash mapping ideas to get you inspired!
- Subtle and flattering: 10, 12, 12, 14, 14
- Slightly more dramatic: 10, 12, 14, 14, 16
- Subtle, short gradient: 8, 10, 12, 14, 14
- Pop of length at the end: 10, 12, 12, 12, 14
- Dramatic pop of length: 10, 10, 12, 12, 16
Prep & Apply Glue
Before applying your lashes, ensure your eyes are clean and free from any makeup or oil-based skincare. Then, apply a thin layer of lash glue directly to your lashes, like you would mascara. Make sure there’s a sufficient amount near the base of the lashes. Once you’re done, give the glue 15 seconds to dry down.
Apply Your Lashes
Now, following your lash map, start applying your lashes along the lash line. It’s up to you if you prefer to start from the outside in or inside out.
Using your applicator, pick up your first lash cluster and place it gently against your natural lash line from below. Make sure that the band is 1 or 2 mm above your natural lash line. Adjust the placement, and then move on to the next cluster.
Fuse and Seal
Once you’re done applying your lashes to one eye, use the applicator to press the lashes and DIY extensions together carefully. This will ensure better adhesion and create a more blended look. Then, repeat the whole process on the other eye. Finally, apply a light coat of Lilac Lash Crystal Coat to eliminate any tackiness and ensure your lashes stay put for as long as possible.
How Long Do Cat Eye Lash Extensions Last?
As with most lash extensions, professional cat eye lash extensions will normally last for 3 to 4 weeks before needing a refill. With Lilac St. lashes, the longevity depends on the glue you choose. You can expect 3-6 days of wear with our regular lash glue or 5-10 days of wear with our PRO lash glue.
Aftercare for Cat Eye Lash Extensions
There’s a lot that goes into eyelash extension aftercare to ensure the health of your eyes and the longevity of your extensions. The rules are no different for cat eye extensions!
- Avoid water for the first few hours after application.
- Wash your lashes regularly with a lash-safe cleanser and brush.
- Comb your lashes once or twice a day.
- Sleep carefully, and avoid lying with your face pressed against the pillows.
- Avoid friction from cotton pads or clothing.
- Keep your head out of direct water pressure when showering.
- Avoid mascara altogether, or choose extension-safe formulas.
- Don’t use oil-based makeup or skincare products.
Feeling feline
Cat eye lash extensions are sultry and glamorous, and there’s a lot of room to play with them to achieve different effects and ensure they suit your eye shape. We hope you feel ready to try them, either at your next lash extension appointment or by yourself with DIY extensions!


