


$16
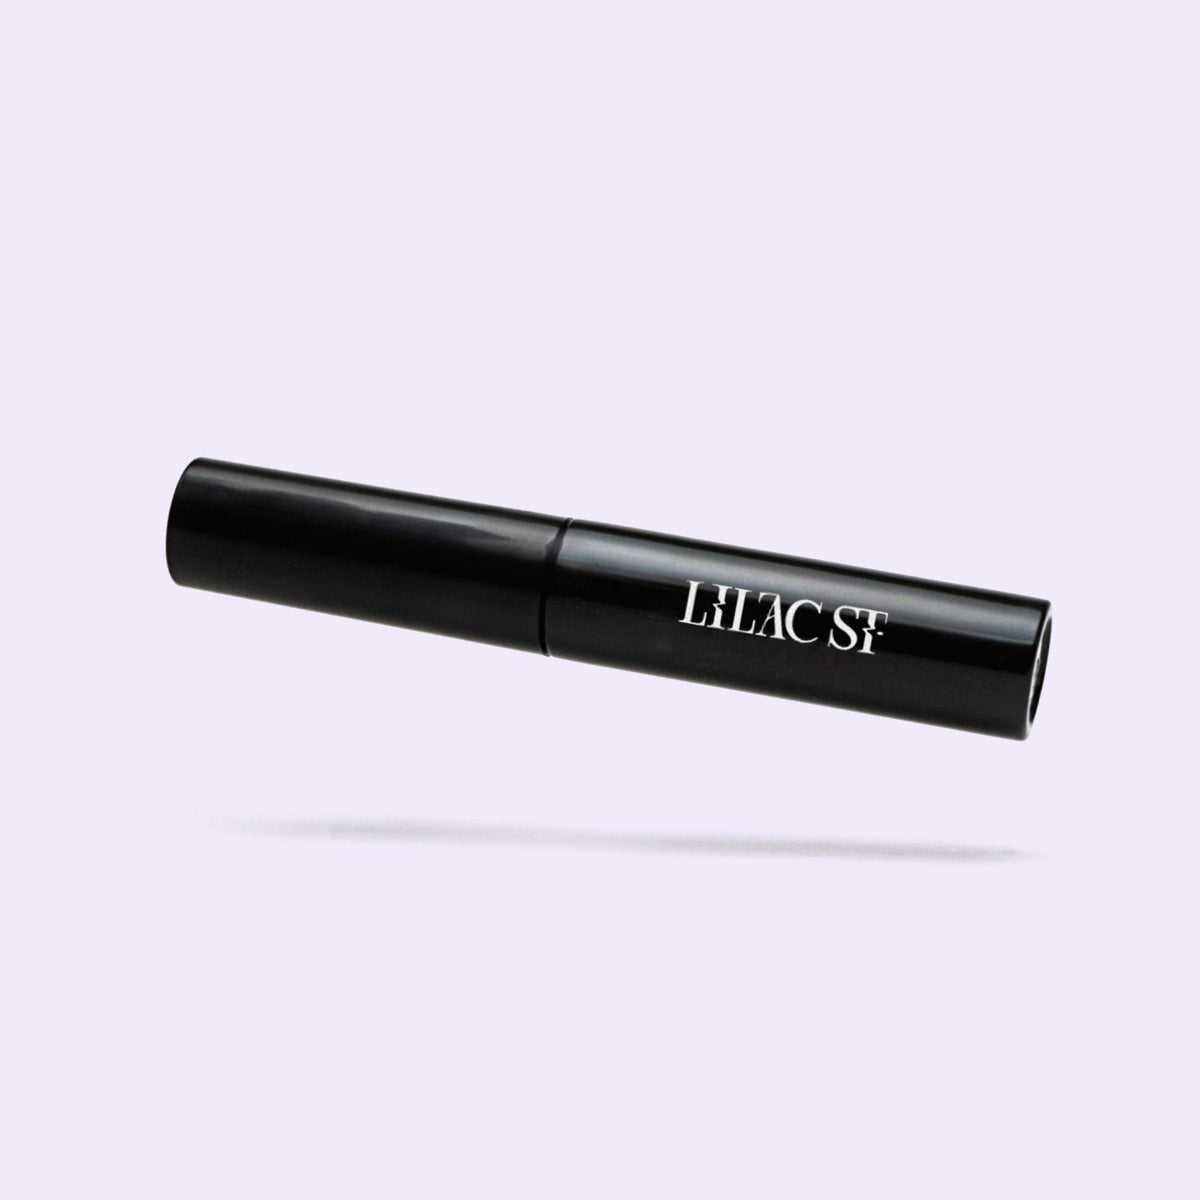
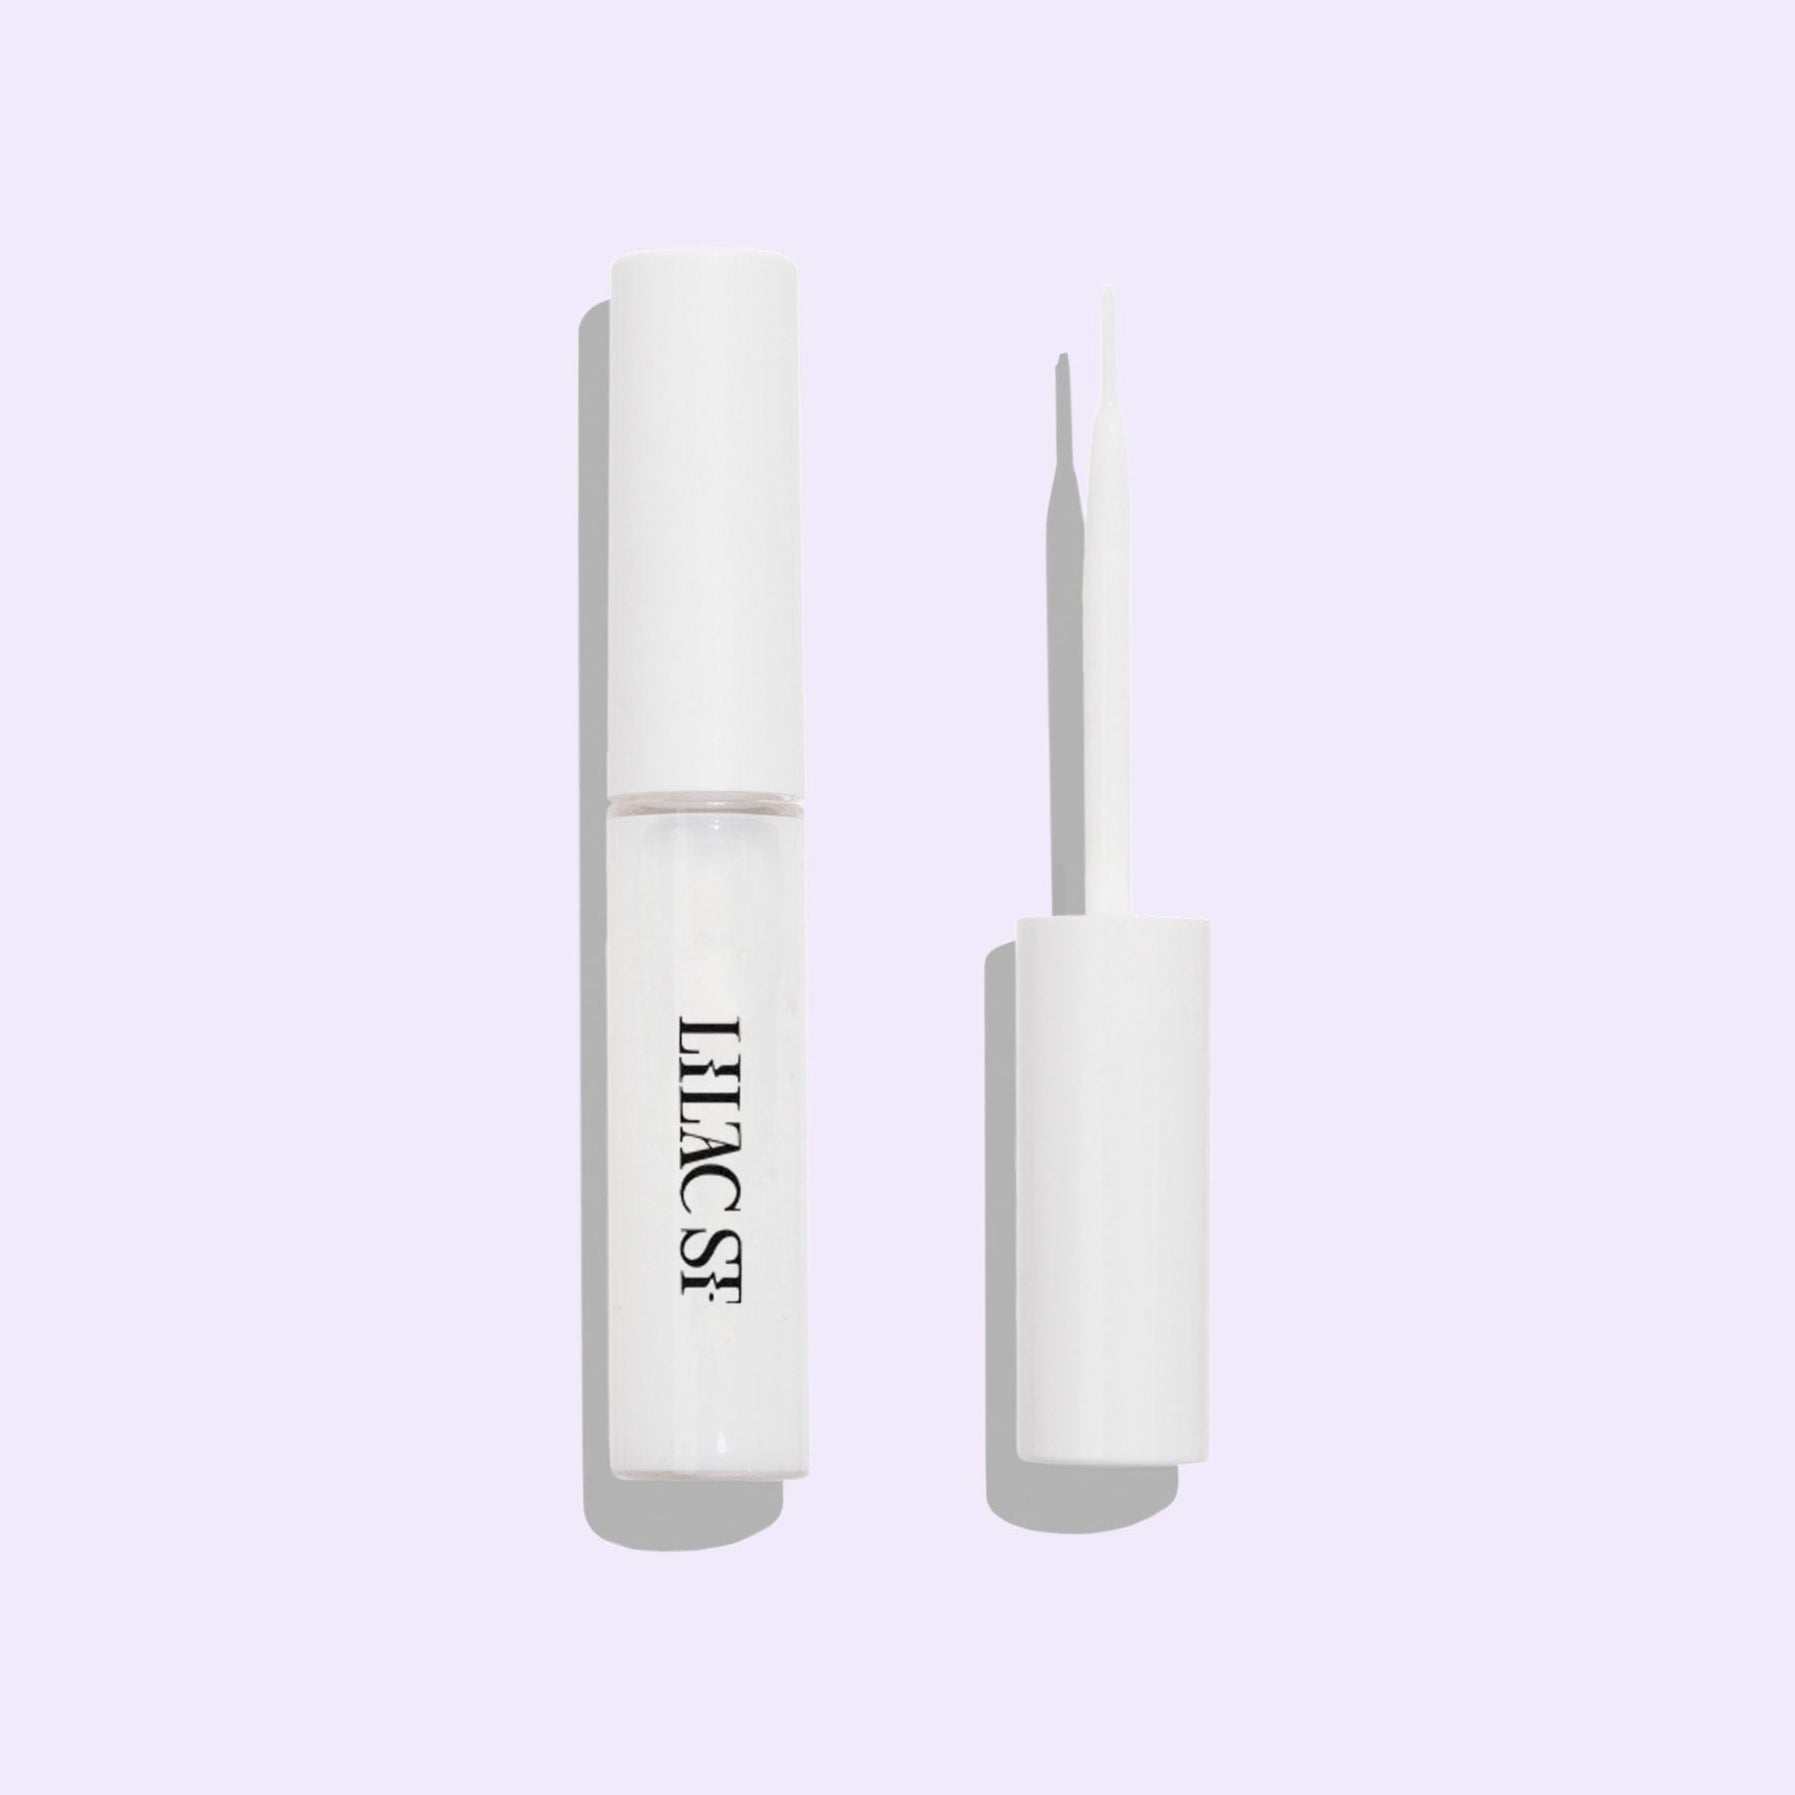
Lock-It Bond
$16
The perfect bond for beginners.
A strong yet forgiving formula, Lock-It Bond is ideal for those just starting their lash journey. The brush tip applicator makes precise application a breeze.
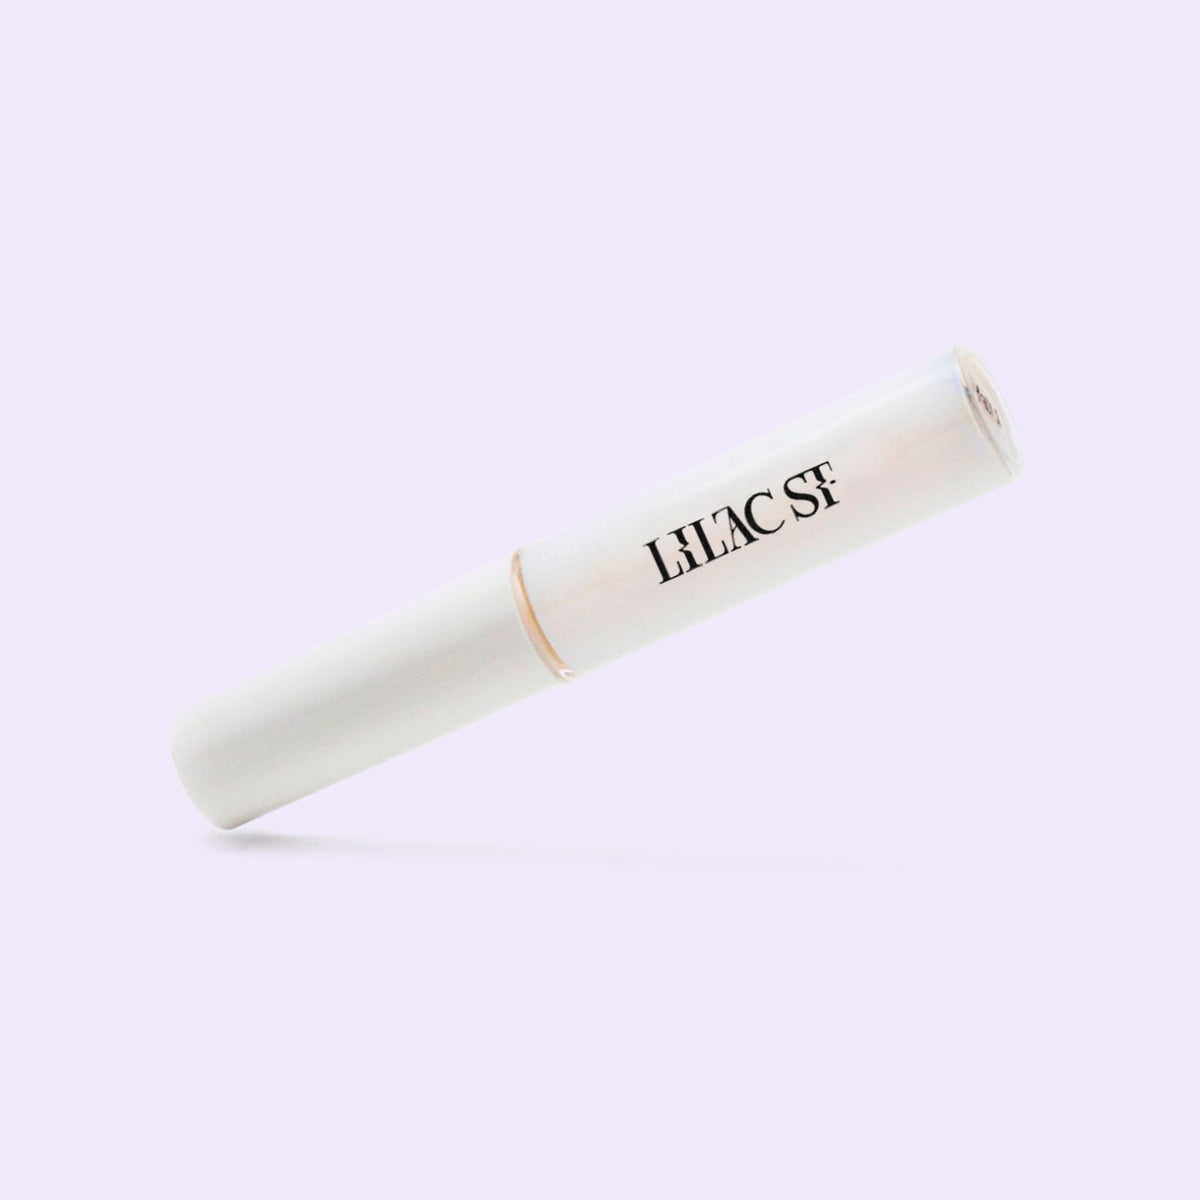
Better Together: The Bond Breaker Lash Remover is Lock-It Bond’s match made in heaven. It will have your lashes and bond melting away with no damage to your natural lashes.
Subscribers save 25% on this and other accessories. Subscribe
Better Together: The Bond Breaker Lash Remover is Lock-It Bond’s match made in heaven. It will have your lashes and bond melting away with no damage to your natural lashes.
Subscribers save 25% on this and other accessories. Subscribe
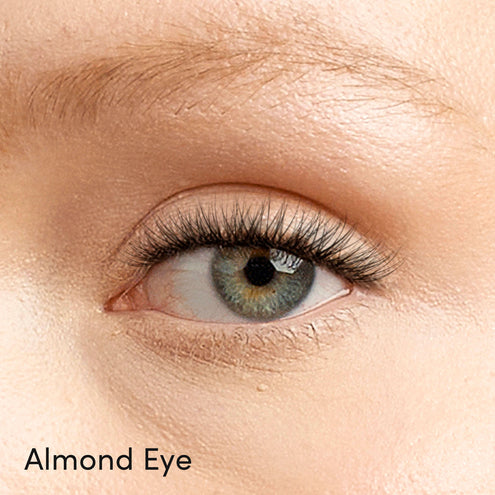
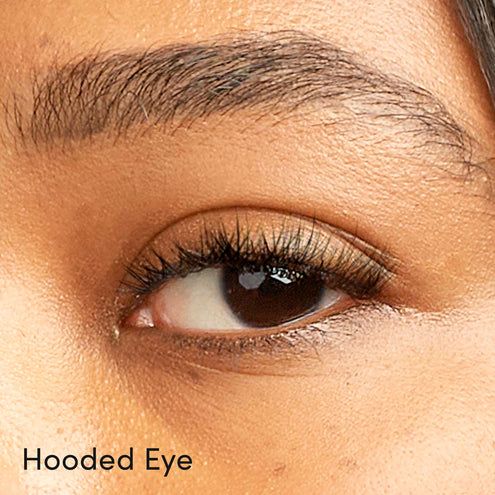
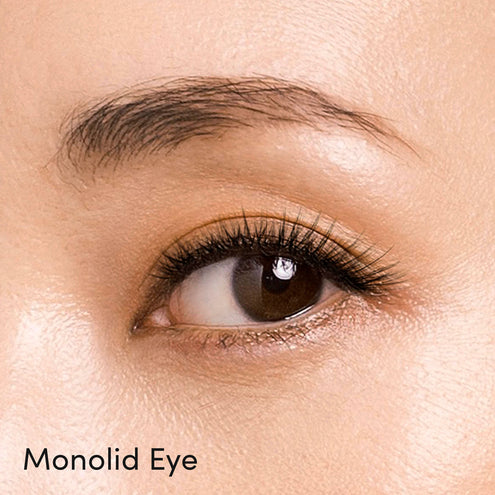
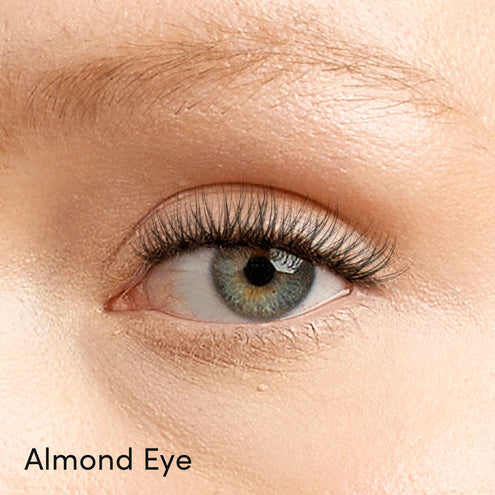
- Beginner-friendly formula
- Precise brush tip applicator
- Strong hold with easy removal
- Gentle and non-irritating, even for sensitive eyes
- Vegan and cruelty-free
- For Subscribers: add this item as a one-time purchase to your next box through your subscription portal for 25% OFF and free shipping.
- Ingredients for Black glue: Acrylates/Ethylhexyl Acrylate Copolymer, Aqua, Phenoxyethanol, D&C Black No. 2, Citric Acid, Sorbitol, Ceteareth-25, Sodium Carbonate, Allantoin, Ethylhexylglycerin
- Ingredients for Clear glue: Acrylates/Ethylhexyl Acrylate Copolymer, Aqua, Phenoxyethanol, Ethylhexylglycerin, Allantoin
- 4.6mL / 0.15 fl oz
Prolonged exposure to freezing temperatures in transit may impact bond performance. If your bond arrives affected by temperature, please reach out to hello@lilacst.com.
- Dab a small amount of Lock-It Bond (Lilac Lash Glue) at the base of your natural lashes. You can also add a bit of bond to the spines of your lash wisps for extra hold.
- Give the bond 30-45 seconds to become tacky before applying your Lilac St. lash wisps.
- Follow with your favorite Lilac St. lashes.
- Soak lashes and bond in Bond Breaker for at least a minute.
- Use your finger to slide your lashes off–there should be no need for tugging or pulling.
- Expect some natural lash shedding during removal. This is normal and equivalent to brushing your fallen hair after an updo. Watch out for still-growing lashes, which you can identify by their roots–this indicates you’re tugging too much during removal.
- Be gentle and work slowly to keep natural lashes healthy and strong. Correct DIY lash removal should not generate any lash damage.
- To Remove:
Prolonged exposure to freezing temperatures in transit may impact bond performance. If your bond arrives affected by temperature, please reach out to hello@lilacst.com.
Avoid pumping the applicator and tightly close the cap after use to maximize product lifetime. Keep out of extreme temperatures.
Avoid pumping the applicator and tightly close the cap after use to maximize product lifetime. Keep out of extreme temperatures.
Lash Loving
Longwear
Cruelty Free
Vegan
Women Founded
AAPI Owned
Backing Artists